

Introduction
Boston Cream Fudge is a rich and luxurious treat that takes inspiration from the beloved Boston Cream Pie, blending the flavors of chocolate, vanilla custard, and a creamy fudge base. This delightful dessert is perfect for special occasions or simply as a sweet indulgence for yourself. With its combination of smooth chocolate and velvety custard, Boston Cream Fudge not only satisfies your sweet tooth but also offers a unique twist on a classic favorite. Whether you’re hosting a gathering or treating yourself on a quiet evening, this fudge recipe is sure to impress.
The origins of Boston Cream Pie date back to the 19th century, where it was first created by a French chef in Boston. Today, the flavors of this iconic dessert have been transformed into a rich fudge that captures the essence of the original pie. As we delve into the detailed recipe for Boston Cream Fudge, you’ll discover the preparation techniques, ingredient insights, and tips to achieve the perfect texture, ensuring your fudge turns out just right.
Understanding the Ingredients
Exploring the Essential Components
To create this decadent Boston Cream Fudge, it’s crucial to understand each ingredient’s role in the recipe. Here’s a closer look at the components that come together to make this delightful treat:
– Granulated Sugar: The foundation of sweetness and structure in your fudge. Sugar not only sweetens the mixture but also helps create the perfect texture when combined with cream and butter.
– Heavy Cream: This ingredient adds richness and creaminess to the fudge, contributing to its luxurious mouthfeel. The high-fat content of heavy cream is essential for achieving that melt-in-your-mouth consistency.
– Unsalted Butter: Butter brings depth of flavor and smooth texture to the fudge. Using unsalted butter allows you to control the salt content in your recipe, ensuring that the sweetness of the fudge shines through.
– Semi-Sweet Chocolate Chips: The star ingredient that provides the iconic chocolate flavor. Semi-sweet chocolate strikes the perfect balance between sweetness and richness, making it ideal for fudge recipes.
– Marshmallow Fluff: This ingredient contributes to the fudge’s creamy consistency, adding a lightness that prevents the fudge from becoming too dense. Marshmallow fluff also helps in binding the ingredients together.
– Vanilla Extract: A crucial flavor enhancer, vanilla extract elevates the overall flavor profile of the fudge. It adds warmth and complexity, rounding out the sweetness of the chocolate and custard layers.
– Salt: A small amount of salt balances the sweetness and elevates the flavors of the fudge. It enhances the chocolate notes and rounds out the overall taste.
– Powdered Sugar: Used for dusting and presentation, powdered sugar can also help in adjusting the consistency of the fudge if needed. It gives your finished product a polished and appealing look.
– Vanilla Custard: This creamy layer ties the fudge together, infusing it with the classic vanilla flavor that complements the chocolate perfectly. The custard adds a delightful contrast to the rich fudge, making each bite a harmonious experience.
Preparation: Creating the Perfect Boston Cream Fudge
Setting the Stage for Success
Before diving into the preparation of Boston Cream Fudge, it’s important to set the stage for success. Proper preparation ensures a smooth cooking process and an impressive final product. Here are the initial steps to get started:
Preparing the Pan
1. Choosing the Right Pan: For fudge-making, a square or rectangular baking dish is ideal. A 9×9 inch pan works perfectly for this recipe, providing enough space for the fudge to set evenly.
2. Lining with Parchment Paper: Line the pan with parchment paper, making sure to extend the paper over the edges. This will make it easy to lift the fudge out of the pan once it has cooled and set. The parchment also prevents sticking, ensuring a clean release for your fudge.
3. Greasing Techniques: Even with parchment paper, it’s a good idea to lightly grease the surface with a small amount of butter or cooking spray. This additional step helps the parchment adhere to the pan and provides an extra layer of protection against sticking.
4. Preparing the Custard Layer: If you’re using homemade vanilla custard, prepare it ahead of time. Allow it to cool completely before layering it into the fudge. If you’re using store-bought custard, ensure it is at room temperature for easier mixing.
Now that your pan is prepared, you’re ready to move on to the next steps in crafting the perfect Boston Cream Fudge. In the following sections, we will detail the cooking process, including melting the chocolate, mixing the creamy fudge base, and layering the custard for optimal flavor and texture. Stay tuned for an indulgent experience that will leave you and your guests craving more!
Making the Fudge Base: Step-by-Step Guide
To create the rich and creamy base of Boston Cream Fudge, you’ll need to master the art of cooking sugar, cream, and butter to perfection. Start by gathering your ingredients: granulated sugar, heavy cream, unsalted butter, and a pinch of salt.
1. Combine Ingredients: In a heavy-bottomed saucepan, combine 2 cups of granulated sugar, 1 cup of heavy cream, ½ cup of unsalted butter, and a pinch of salt. This mixture is the foundation of your fudge, creating the sweet, creamy texture that pairs beautifully with the custard layer.
2. Heat the Mixture: Place the saucepan over medium heat, stirring occasionally to combine the ingredients. It’s important not to rush this step; gentle heating allows the sugar to dissolve evenly without crystallizing. Continue stirring until the mixture reaches a gentle simmer.
3. Monitor the Temperature: Use a candy thermometer to keep an eye on the temperature. You want the mixture to reach the soft-ball stage, which is around 234°F to 240°F (112°C to 115°C). This stage is crucial for achieving the right consistency in your fudge.
Achieving the Soft-Ball Stage
Understanding the soft-ball stage is essential for successful fudge making. At this temperature, the syrup will form a soft ball when dropped into cold water. Here’s how to check for this stage:
1. Cold Water Test: As the mixture approaches the soft-ball temperature, prepare a small bowl of cold water. Drop a teaspoon of the hot fudge mixture into the water. After a few seconds, use your fingers to gather the mixture. If it forms a soft ball that flattens when removed from the water, you’ve reached the perfect stage.
2. Remove from Heat: Once you achieve the soft-ball stage, promptly remove the saucepan from the heat to prevent the sugar from cooking any further. Allow the mixture to sit for a few minutes to cool slightly before proceeding to the next steps.
Crafting the Fudge Layers
Layering is where the magic happens in Boston Cream Fudge. This dessert is all about balancing the rich chocolate layer with a light, creamy custard.
Adding Chocolate and Marshmallow Fluff
To create the chocolate layer, you’ll need semi-sweet chocolate chips and marshmallow fluff. Here’s how to blend these ingredients smoothly:
1. Melt Chocolate: In a separate bowl, add 1 cup of semi-sweet chocolate chips. Pour the hot fudge mixture over the chocolate chips, allowing them to melt. The heat from the fudge will help the chocolate incorporate seamlessly.
2. Incorporate Marshmallow Fluff: After the chocolate has melted, add 1 cup of marshmallow fluff to the mixture. Stir continuously until you achieve a smooth, glossy chocolate layer. This addition not only enhances the flavor but also gives the fudge a delightful texture.
Layering Process
Now that you have your fudge base and chocolate layer ready, it’s time to assemble the layers:
1. Pouring the Fudge Base: Start by pouring half of the fudge base into a greased 9×9-inch square baking pan. Use a spatula to spread it evenly across the bottom of the pan.
2. Spread the Custard Layer: Once the fudge base is evenly spread, prepare your custard layer. You can use a store-bought vanilla pudding or make your own. Once ready, gently pour the custard over the fudge base, ensuring an even distribution.
3. Add the Chocolate Layer: Carefully pour the chocolate mixture on top of the custard layer. Use a spatula to spread it gently, taking care not to mix the layers. The goal is to maintain distinct layers for a beautiful presentation.
Ensuring Even Distribution
To avoid mixing the layers, consider these techniques:
– Use a Gentle Hand: When pouring the layers, do so slowly and from a height, allowing the mixture to spread naturally.
– Layering Tools: A small offset spatula can help you maneuver the chocolate layer without disturbing the custard underneath.
Chilling and Setting the Fudge
Patience is key when it comes to setting your Boston Cream Fudge. The chilling process ensures that all the flavors meld beautifully and that the fudge achieves the right consistency.
Refrigeration Time
After assembling the layers, cover the baking pan with plastic wrap and place it in the refrigerator. Allow the fudge to chill for at least 4 hours, or ideally overnight. This time allows the fudge to firm up properly, making it easier to cut into squares.
Techniques for Testing Doneness
To know when your fudge is ready for cutting, look for these signs:
– Firm to the Touch: The top layer should feel firm and slightly set when you gently press down on it.
– Chilled Throughout: If you can easily lift the fudge out of the pan (using the edges of the parchment paper if lined), it’s ready for cutting.
Serving Suggestions and Presentation
Now that your Boston Cream Fudge has set, it’s time to serve it up in style. Presentation can elevate your dessert from simple to spectacular.
Cutting Techniques
To achieve clean squares, follow these best practices:
1. Use a Sharp Knife: A sharp, non-serrated knife is essential for clean cuts. Wipe the knife with a damp cloth between cuts to prevent sticking.
2. Chill Before Cutting: If your fudge is too soft, place it back in the refrigerator for a short while before cutting to make it easier to handle.
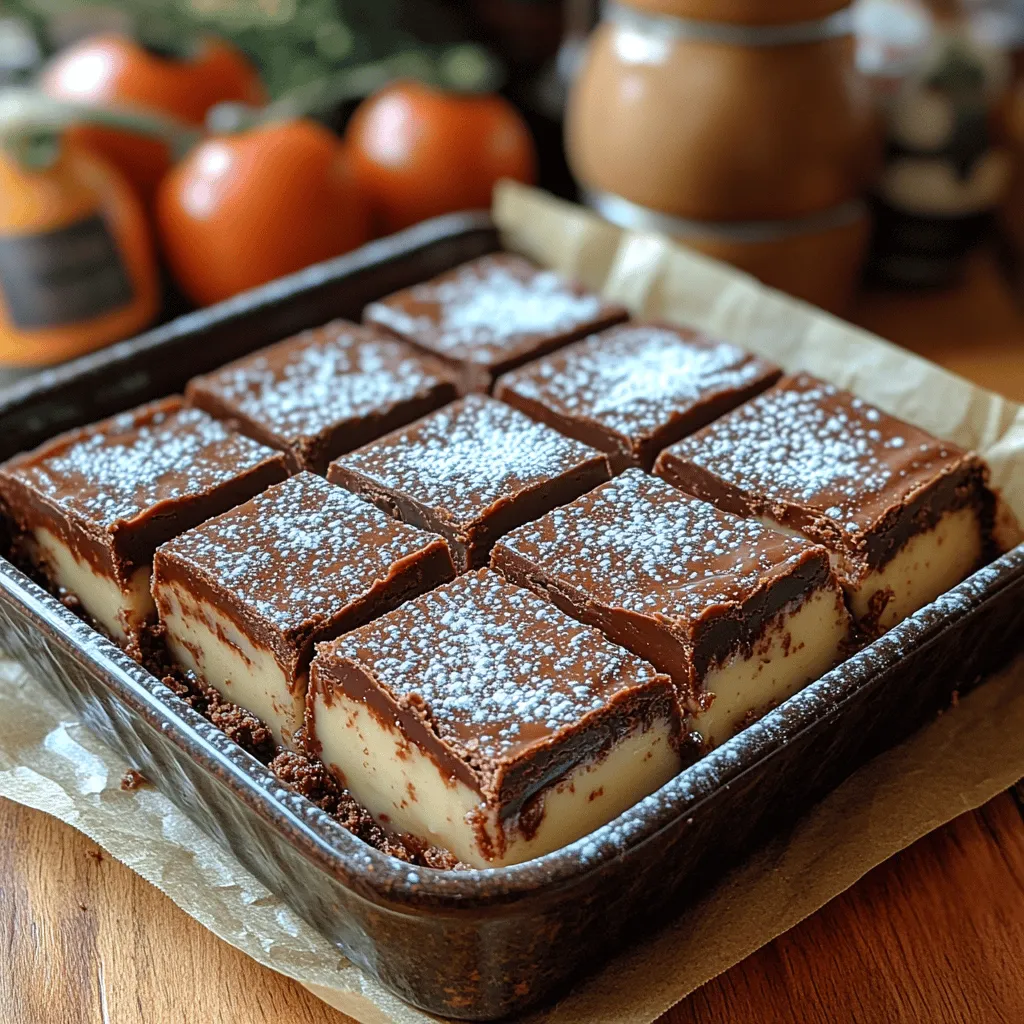
Dusting with Powdered Sugar
For a professional-looking finish, consider dusting your fudge with powdered sugar. Here’s how:
– Use a Sifter: Place a small amount of powdered sugar in a sieve and gently tap it over the fudge squares. This creates a delicate, attractive layer on top.
Serving Ideas
Get creative with your presentation:
– Platter Arrangement: Arrange the fudge squares on a decorative platter, alternating with fresh berries or mint leaves for a pop of color.
– Individual Servings: Wrap each piece in decorative parchment paper and tie it with a ribbon for a charming gift presentation.
Conclusion
Boston Cream Fudge is a delightful dessert that combines the best elements of chocolate and vanilla custard in a creamy, indulgent treat. By following this comprehensive recipe and understanding the preparation techniques, anyone can create this stunning dessert that will impress family and friends alike. Enjoy the process of making and sharing this decadent fudge, and relish in the sweet satisfaction it brings. Whether served at a gathering or as a sweet indulgence for yourself, Boston Cream Fudge is sure to become a favorite in your dessert repertoire.
